You fill an area with a gradient by dragging within the image or by selecting with the Gradient tool. The distance between the starting point (where you first press the mouse button) and ending point (where you release the mouse button) affects the gradient appearance, as does the gradient type.
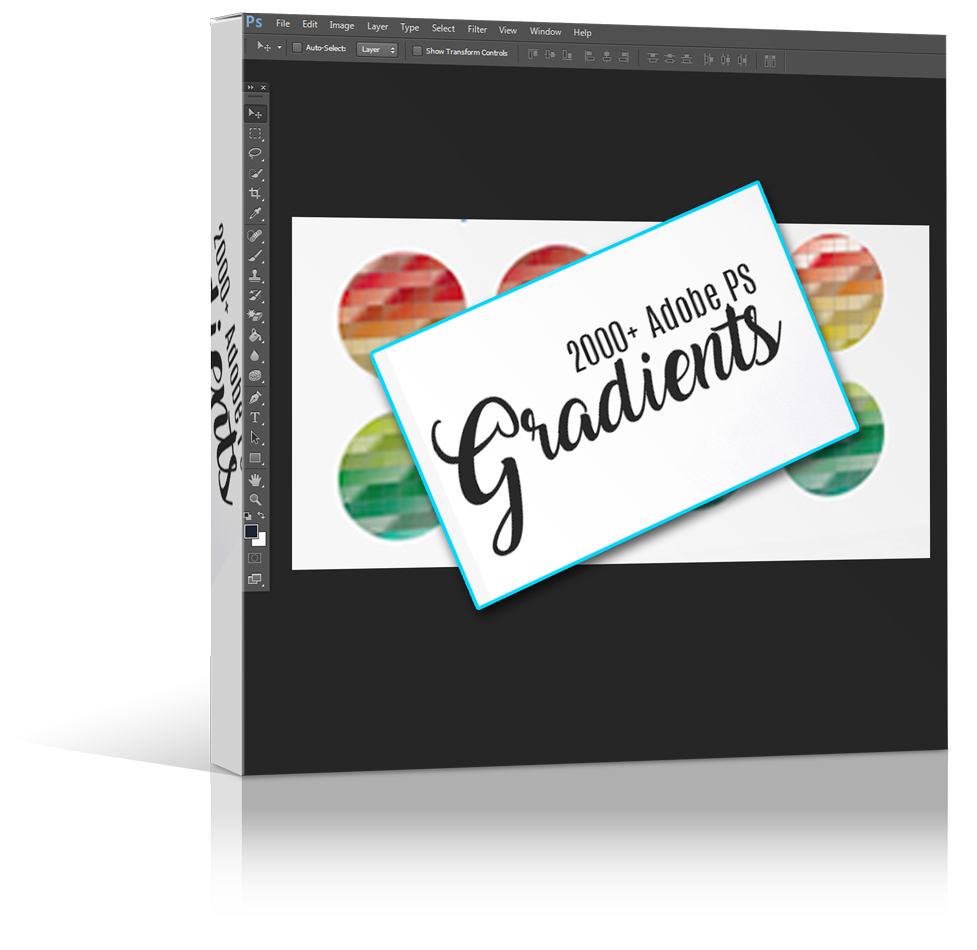
Adobe Photoshop Gradients
$7.99
Full Description
Adobe Photoshop Gradients – 2000 plus

Using the Gradient tool and Gradient Editor, you can create a custom mix of colors in your photos.
Diamond gradient
Shades from the starting point outward in a diamond pattern. The ending point defines one corner of the diamond.
Note:
You can also use a Fill Layer to apply a gradient to your image. The fill layer gives you the added flexibility of changing the gradient properties and editing the fill layer’s mask to limit the gradient to a portion of your image. (Adobe Photoshop Gradients – 2000 plus)
Gradients are stored in libraries. You can choose a different library of gradients to display in the Gradient Picker menu by clicking the the menu and selecting a library at the bottom of the list. You can also save and load your own libraries of gradients in this menu. You can also manage gradients by using the Preset Manager.
-
Opacity
Sets the opacity of the gradient. A low opacity setting allows pixels under the gradient to show through. Drag the slider or enter an opacity value.
Reverse
Switches the order of the colors in the gradient fill. (Adobe Photoshop Gradients – 2000 plus)
Transparency
Uses the gradient’s transparency (instead of any transparent areas in the image) if the gradient has transparent areas.
You can define your own gradients in the Gradient Editor dialog box. A gradient can include two or more colors, or one or more colors that fade to transparency.

Gradient Editor dialog box.
A. Color Stop B. Color Midpoint C. Opacity Stop
To define a gradient, you add a color stop to add a color to the gradient, drag the color stop and the midpoint icon to define the range between two colors, and adjust the Opacity stops to specify the transparency that you want in the gradient.
Each gradient fill contains settings (opacity stops) that control the opacity of the fill at different locations in the gradient. The checkerboard pattern indicates the amount of transparency in the gradient preview. Gradients need at least two opacity stops.
A noise gradient is a gradient that contains randomly distributed colors within a range of colors that you specify.

Noise gradients with different noise values.
A. 10% noise B. 50% noise C. 90% noise


Need custom designed eBook cover?
Get in touch and we will create one for you for only $10.